SparkFun a La Carte – $949 point and click custom board service –
Let’s take a look at how to design a custom board using SparkFun A La Carte (ALC), a point-and-click custom electronics board design service from SparkFun. We’ll walk through designing a board as well as other helpful tips for using ALC.
Saw this in the FAQ, SparkFun does own the designs made, that is interesting –
Who owns the design?
Good question. For a variety of legal reasons, SparkFun owns the design, and here’s why: The ALC system is built on automation. Let’s say you drop eight blocks onto a design and then order. If you owned this design, what happens when another customer adds those same eight blocks onto their design? You each likely have a very different target application, with different code, but this other customer needs to use the same eight blocks. For this reason, SparkFun owns the design, but grants you the right to produce and use boards of the design. If you need full ownership, you can purchase the design files to use as you see fit.
We tile up a bunch of testers and prototypes to send at once, it is a little easier that way and they ship at once – we even get a stencil to match for faster proto assembly. Best part is trying to jigsaw the boards together to make them fit into a clean rectangle. Can you identify all of the testers and prototypes in this mix? For this order we’re using JLCPCB – check out our video on how we order from ’em here – video.
Build an open-source version of an internet-controlled outlet using a PyPortal and a power relay. The outlet is programmed with CircuitPython and connected to Adafruit IO so you can control it from anywhere in the world! Go further with this guide by adding a feedback indicator so you read the appliance power status.
DESK OF LADYADA – The Great Search: Common Through-Hole Resistors – YouTube. What’s Brown Black Orange and Gold and is an essential part of your parts box? The common 10K 5% thru-hole resistor! Beginners will want a box of these low cost, but ultra-useful parts – we’ll show you how to quickly locate all sorts of common resistors as well as tips on telling the variants apart – https://www.digikey.com/short/zrzj3b
The Signal Path repairs an Agilent E8257D PSG analog signal generator.
The instrument does provide an RF output signal. However, there is also a large DC offset voltage present at the output RF port which changes depending the frequency band. The DC voltage is present even when the output RF signal is disabled. Furthermore, the OCXO of the instrument is defective and does not produce a 10MHz output signal.
Linac3 was built in 1994 and generates almost all ions used in the CERN accelerator complex. Despite the construction date in mid 90’s, some electronic modules controlling the radio-frequency fields in the accelerating cavities date back to the 1970’s. It is pretty much all good-old analog stuff.
The first stage of the renovation process is cleaning (of old stuff). It is always a bit emotional to cut cables and remove fully functional equipment. You destroy work of your predecessors, whom you value a lot, but also reach the point of no return, when you have to deliver a new, fully operational system in due time. And this is what triggered creation of this post.
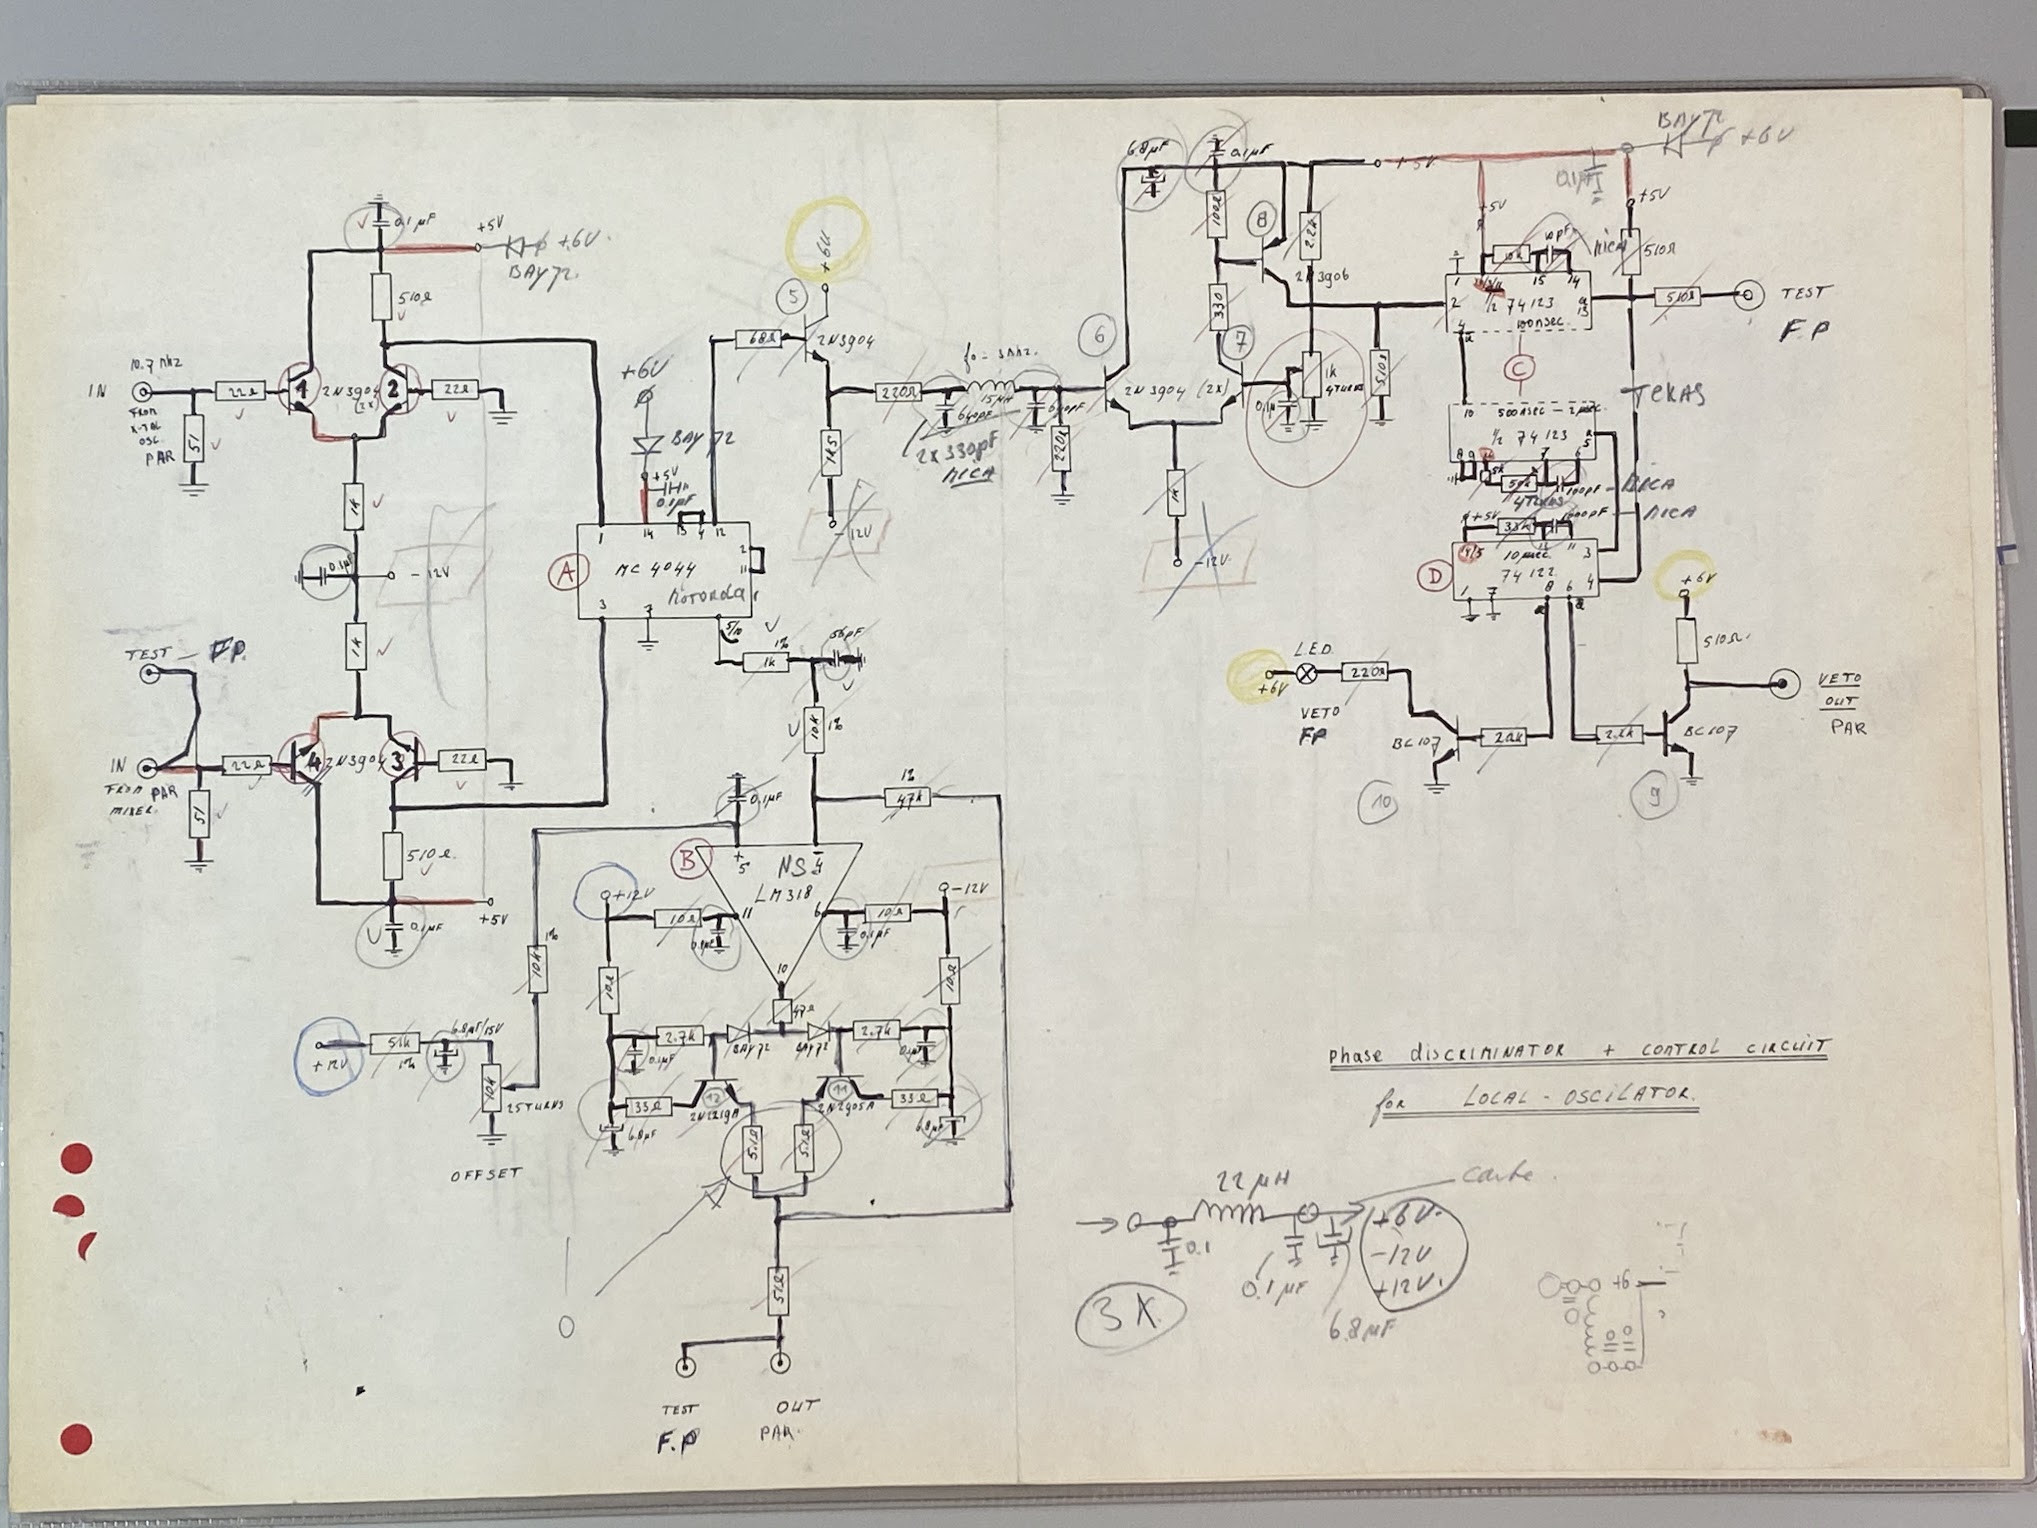
I found a digital module, which was put into operation back in 1977. This is the year I was born, so I wanted to keep this NIM module for nostalgic reasons. After opening the cover, I found very nice printed board with all the signatures of hand design. I immediately recognised the templates for power rails at the bottom side, and then the traces were hand drawn by a special pen and set of curved rulers to both sides. Those are TTL circuits which were introduced by TI only few years earlier (end of 60’s).
The article then explores how the engineers designed the circuitry and laid it out on PC boards.
FreeRTOS can report the CPU percentage spent in each task. Some extra work is needed to get this information though. In an MCU on Eclipse article, they show how to do this for the NXP i.MX1064.
…the RTOS needs an extra timer to measure task execution time. This timer value is checked at task context switch time and stored in the task control block information section. With little overhead, the RTOS knows how the time is spent between the tasks (this does not separate out time spent in interrupts).
In the article, the methodology is shown using the NXP i.MXRT1064 EVK board. The example project used is available on GitHub.
WaveDrom is a free and Open Source online digital timing diagram (waveform) rendering engine that uses JavaScript, HTML5 and SVG to convert a WaveJSON input text description into SVG vector graphics.
WaveJSON is an application of the JSON format. The purpose of WaveJSON is to provide a compact exchange format for digital timing diagrams utilized by digital HW / IC engineers.
The engine is using the WaveDromSkin skin mechanism to render a complete picture.
Matt’s Tech Pages obtained a set of 4 U552C’s – the Soviet version of the Intel 1702A.
What is our fixation with chips produced by the Soviet union by the help of industrial espionage? Or is it just me that likes to collect these?
… the pin spacing of these chips is a metric 2.5mm, not the usual imperial 0.1″. Engineers from the USSR apparently felt the need to correct the oddities of the imperial past.
See how these were programmed via another Soviet chip: the K1810VM86 – a clone of Intel’s 5MHz 8086 processor.
The Non Maskable Interrupt (NMI) is a special interrupt on ARM Cortex-M architecture: it cannot be ‘masked’ by the usual ‘disable interrupts’ flags (PRIMASK, BASEPRI), similar to the Reset signal. MCU on Eclipse writes about disabling this capability if needed:
Dealing with the reset signal is kind of obvious, and most designs and boards have it routed to a reset button or similar. The NMI is less obvious if you don’t pay attention to it: most ARM-Cortex implementations and boards have the NMI signal routed to a pin and are ‘hiding’ it in the schematics behind a normal GPIO pin or port: if you don’t pay attention to the NMI functionality, the board might not work as intended.
If not handled properly, it might cause issues especially with custom board designs. The article describes how disable the NMI pin functions if the NMI is not needed or not used.
Ken Shirriff provides an excellent dive into reverse-engineering the audio amplifier chip in the Nintendo Game Boy Color.
The Nintendo Game Boy Color is a handheld game console that was released in 1998. It uses an audio amplifier chip to drive the internal speaker or stereo headphones. In this blog post, I reverse-engineer this chip from die photos and explain how it works. It’s essentially three power op-amps with some interesting circuitry inside.
Adrian’s Digital Basement discusses rejuvenating the CRT from a Macintosh Classic II with test equipment from 1969.
Part 4.5 of the Macintosh Repairathon Series. Time to see if it’s possible to rejuvenate the old tired and dim CRT from the Macintosh Classic II. It’s my first time trying this! Let’s get right to it!
This week’s EYE on NPI (video) is on a super super fresh NPI that we’re excited about – the ST VL53L3CX which is the latest version of the ‘micro-LIDAR’ sensors from ST. Starting with the VL6180X, and continuing to the VL53L0X and VL53L1X, these sensors are really amazing! They have a tiny laser that emits light and is bounced off nearby objects to determine the distance. The sensor has extra-ordinary timing sensing so it can measure the ‘time of flight’ between the photon emitted by the laser, and when it arrives bounced back. Thus, they are called “Time of Flight / ToF” sensors.
VL53L3CX ToF product from STMicroelectronics embeds ST’s third-generation FlightSense patented technology. It combines a high-performance proximity and ranging sensor with multi-target distance measurements and automatic smudge correction. The miniature reflowable package integrates a single-photon avalanche diode (SPAD) array and physical infrared filters to achieve the best ranging performance in various ambient lighting conditions, with a wide range of cover glass windows.
There’s a lot of ways to measure distance – often folks use IR sensors. These bounce Infrared LED light off an object and measure the amount of light detected. These are really inexpensive and simple to use – you just need an analog reading of the phototransistor voltage, but have a few downsides: the readings are not precise distances, the sensor often have short ranges (usually maxing out at 150cm), and the color and reflectivity of the sensed object affects readings.
Darker objects absorb more of the IR so seem to be ‘farther’, this can cause frustration as seen in this popular video showing different folks trying to use a soap dispenser with IR sensing: lighter skin works, darker skin does not trigger the distance sensor.
Ultrasonic is another popular distance measurement, but it’s slower – relying on sound travel – and is very bulky since you need a transducer. You also can’t have anything blocking the transducer.
As we mentioned, the VL53L3CX is the latest in this family which started with the VL6180X and has grown since. This new chip is the same size and pinout as the previous VL53Lx chips so it should be an easy update. The nifty new capability in this sensor is that it can now track up to 4 objects distances at a time, instead of a single distance. Here are the specs:
Long distance and accurate ranging up to 3 m
Excellent short distance linearity
ST histogram algorithms allow multi-target distance measurement and cover glass crosstalk immunity beyond 80 cm
ST algorithms enable dynamic smudge compensation
Very small package for easy integration (single module combining laser emitter, SPAD receiving array, and microcontroller in a reflowable package)
Can be hidden behind various cover window material and colors (Creative ID)
Not affected by target reflectance, material and color, or unlikely traditional IR proximity sensors
From the Desk of Ladyada – The Great Search at Digi-Key. A new feature on Desk of Ladyada, we’re still searching for the best name
On our first episode of The Great Search with Digi-Key we go hunting for an inductor! Boost converters are ultra-integrated these days, so other than a few resistors and capacitors, we only need to spec out the power inductor. It’s important to pick the right one – small enough to fit on the PCB, with enough current carrying capacity for our boosting, and low DC resistance for high efficiency! Join us as we show how to whittle down the thousands of available inductors to a few choice options.
This week’s EYE on NPI (video) is a family of fresh wireless microcontrollers from TI that recently got a cute new update. The CC2652RB is the latest addition to the CC2652/CC1352 family, which a cool twist: there’s no external crystals required for this 2.4GHz radio, the built in oscillator is temperature compensated and precise enough to keep the radio tuned!
While researching it, I ended up looking up the rest of the family, so let’s introduce them.The CC2652RB is the latest iteration of the CC2652R, which is the little sister to the CC1352R. These are part of the TI SimpleLink wireless family of chips – combining a Cortex M4 main processor with a wireless radio subprocessor, in one chip, for ultra-small and ultra-integrated wireless devices. TI has been developing chips in the CC wireless family for years, and they have a substantial segment of the market for WiFi, BLE, ZigBee, sub-GHz, etc. SimpleLink wireless is TI’s API/IDE that builds on the MSP43x series of microcontrollers with wireless hardware tacked on so you can reuse the main application code, while changing the underlying protocol and transport. This is handy for IoT products because its common to design a product for WiFi or ZigBee and then release a version that is BLE. We have a video all about IoT protocols and transports if you’d like to familiarize yourself with the design decisions and trade-offs you’ll face.
Let’s check out the deets on this microcontroller set:
Texas Instruments’ CC2652RB SimpleLink multiprotocol 2.4 GHz wireless crystal-less MCU with integrated TI bulk acoustic wave (BAW) resonator technology supporting Thread, Zigbee®, Bluetooth® 5.1 low energy, IEEE 802.15.4, IPv6-enabled smart objects (6LoWPAN), proprietary systems including the TI 15.4-Stack (2.4 GHz), and concurrent multiprotocol operation through the dynamic multiprotocol manager (DMM) software driver. Integrated BAW resonator technology eliminates the need for external crystals without compromising latency or frequency stability. The CC2652RB device is optimized for low-power wireless communication and advanced sensing in building security systems, HVAC systems, medical, power tools, wired networking, portable electronics, home theater and entertainment, and connected peripheral markets.
Microcontroller
Powerful 48-MHz Arm® Cortex®-M4F processor
EEMBC CoreMark® score: 148
352KB of in-system Programmable Flash
256KB of ROM for protocols and library functions
8KB of Cache SRAM (Alternatively available as general-purpose RAM)
80KB of ultra-low leakage SRAM. The SRAM is protected by parity to ensure high reliability of operation.
2-Pin cJTAG and JTAG debugging
Supports Over-the-Air upgrade (OTA)
Ultra-low power sensor controller with 4KB of SRAM
Sample, store, and process sensor data
Operation independent from system CPU
Fast wake-up for low-power operation
TI-RTOS, drivers, Bootloader, Bluetooth® 5.1 Low Energy Controller, and IEEE 802.15.4 MAC in ROM for optimized application size
RoHS-compliant package
7-mm × 7-mm RGZ VQFN48 (31 GPIOs)
Peripherals
Digital peripherals can be routed to any GPIO
4× 32-bit or 8× 16-bit general-purpose timers
12-Bit ADC, 200 kSamples/s, 8 channels
2× comparators with internal reference DAC
(1× continuous time, 1× ultra-low power)
Programmable current source
2× UART, 2× SSI (SPI, MICROWIRE, TI), I2C, I2S
Real-Time Clock (RTC)
AES 128- and 256-bit Crypto Accelerator, ECC and RSA Public Key Hardware Accelerator, SHA2 Accelerator (Full suite up to SHA-512), True Random Number Generator (TRNG)
Capacitive sensing, up to 8 channels
Integrated temperature and battery monitor
There’s 4 interesting things we found in this NPI that we wanted to call out since they’re unique to this family.
First up, the B in the part number CC2652RB stands for bulk acoustic wave (BAW) resonator technology. What is that? Check out this handy TI video with nice graphics that explains how they created a precision integrated resonator. This means you can skip the external 24MHz crystal, for even smaller and fully-integrated wireless.
Second, while looking up the CC2652RB, we of course checked out the CC2652R and then the CC1352R. Although they have the same core hardware, the CC2652R has only a 2.4GHz radio for use with BTLE 5.1 (which is backwards-compatible with 4), and 802.15.4/ZigBee/Thread/6LoWPAN. The CC1352R costs a little more, has the 2.4GHz radio and also contains a sub-GHz radio that can rand from 287MHz to 1315MHz (covering the common 433, 868, 915 ISM bands). Something we haven’t seen before in a fully integrated design! That means you can bridge various ISM bands and home-automation protocols to BLE or ZigBee. You give up some GPIO for that capability since there’s two RF output sets.
Third, in addition to the R series, there’s also the P series of chips, which are nearly identical, but with an additional +20 dBm high-power amplifier. That’s another capability you often don’t see in wireless chips, there’s sometimes a gain adjust but other BLE chips max out at +8 dBm – external circuitry is required for an amplifier (PA). You can check those out at Digi-Key as well, the part numbers are CC2652P and CC1352P.
Finally, in addition to the Cortex M0 that handles the radio, there’s also a 16-bit MCU sensor controller, which has access to ADC/GPIO/SPI and 4 KB of RAM. You can use this sub-controller to sequence power control to sensors and read data before turning on the full microcontroller. For example, say you have a simple analog light sensor phototransistor – you don’t want to keep it biased all the time, instead you would control the power to the sensor with a GPIO pin (either directly or thru a P-FET for example). The sensor can stay off, until it’s time to take a reading at which point the sensor controller timer goes off – it powers up the sensor, waits for the value to settle, reads the ADC, stores in SRAM, then shuts back off. After a few readings it can poke the CPU to wake up to transmit that data over BLE.
The CC2652RB Launchpad eval board is available at 296-LP-CC2652RB-ND. There’s a great educational tutorial system called SimpleLink Academy that will take you through setting up the Launchpad as well as teaching you core wireless and BLE concepts!
You can pick up the CC2652RB chips themselves from Digi-Key using part number 296-CC2652RB1FRGZRCT-ND.
To see more products in the EYE on NPI series, click here.
Kevin made a video for panelizing circuit board designs using KiCad. This one happens to be the CircuitBrains boards, powered by CircuitPython – Twitter, and YouTube.
Michael F. Robbins has published the Ultimate Electronics: Practical Circuit Design and Analysis
on the web at ultimateelectronicsbook.com. It is a free, interactive book for electronics hobbyists and electrical engineering students.
The text includes hundreds of interactive schematics that you can load, simulate, change, and simulate.
The book has chapters 1 (Conceptual Foundations of Engineering) and chapter 2 (Linear Direct Current Electronics) online with 17 additional chapters in the works.